WATCH THIS FIRST
TOP VID FOR NEW V4 MOLDED (SOCKET TOOL)
Vid below for earlier molded and METAL cleats
IMPORTANT INTEL - OVER 1 MILLION SPIKES MOUNTED - SAY NO TO TOE SPIKES
Yardkicks are a DIY product designed to work for all skill levels and WORK AS WELL AS YOUR MOUNTING JOB so take your time and understand the instructions - use your skills and your shoe goo. Info below is based on millions of spikes mounted in thousands of shoes. 8 SPIKES PER SHOE - YOU'LL HAVE EXTRAS - WE HATE TOE SPIKES SO SHOULD YOU.
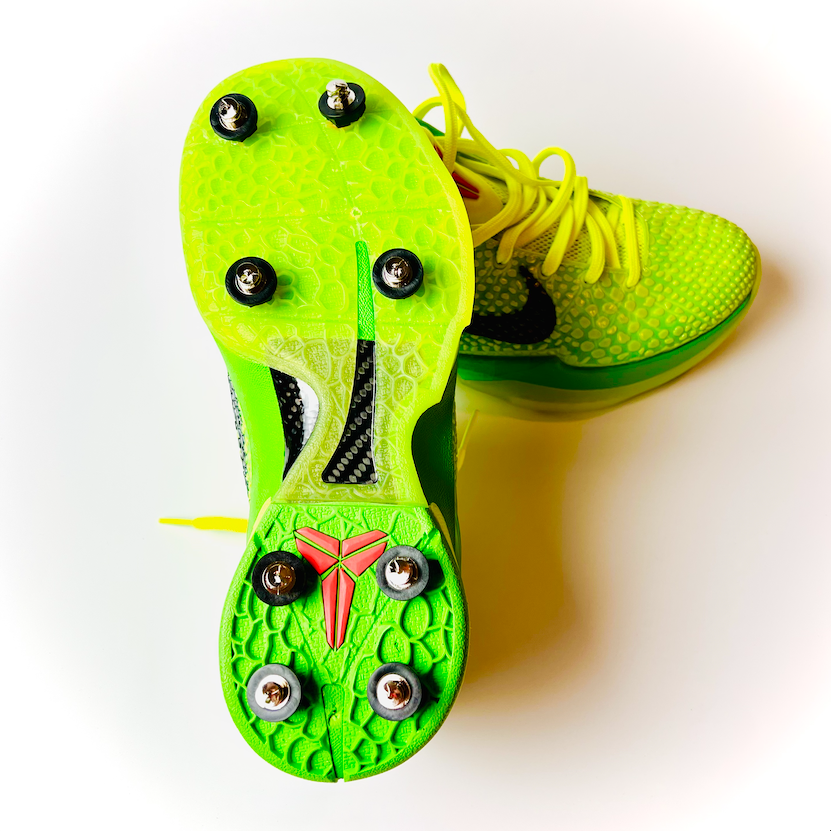
Step 1
map out 8 spike pattern upside down (NO TOE SPIKE)Make sure spikes sit on flat parts of sole, use 6 for smaller shoes. YOU DO NOT WANT A CENTER TOE SPIKE UP FRONT. 8 spike max per shoe provides MORE traction than more spikes.
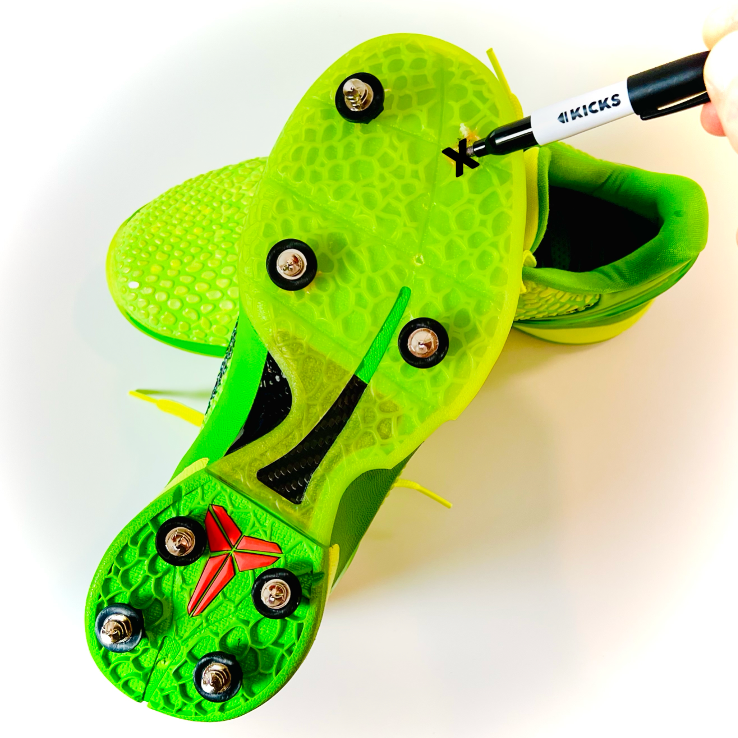
Step 2
dot sole with markerRemove spikes and mark placements for mounting
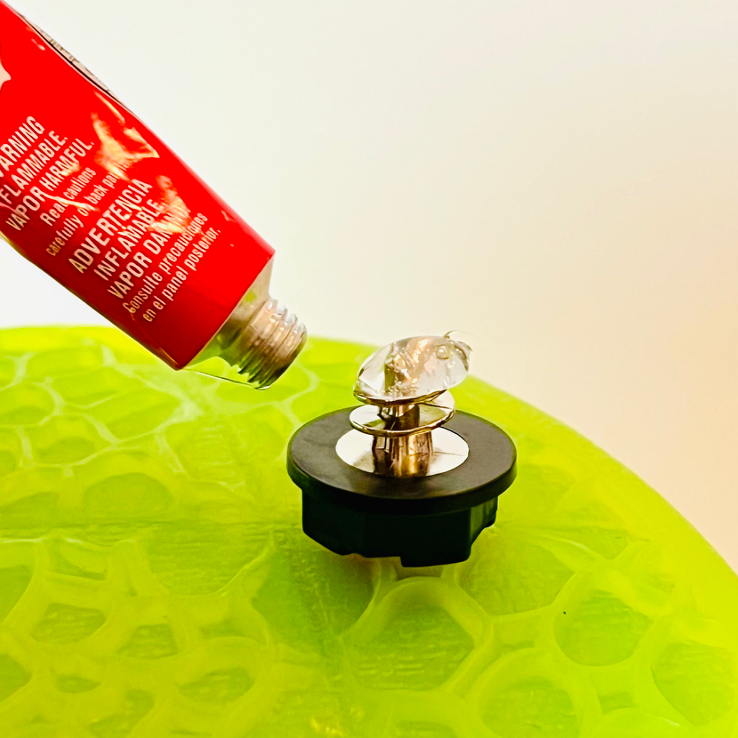
Step 3
add shoe goo to metal threadsPut a small dab of goo on end of metal screw
Step 4
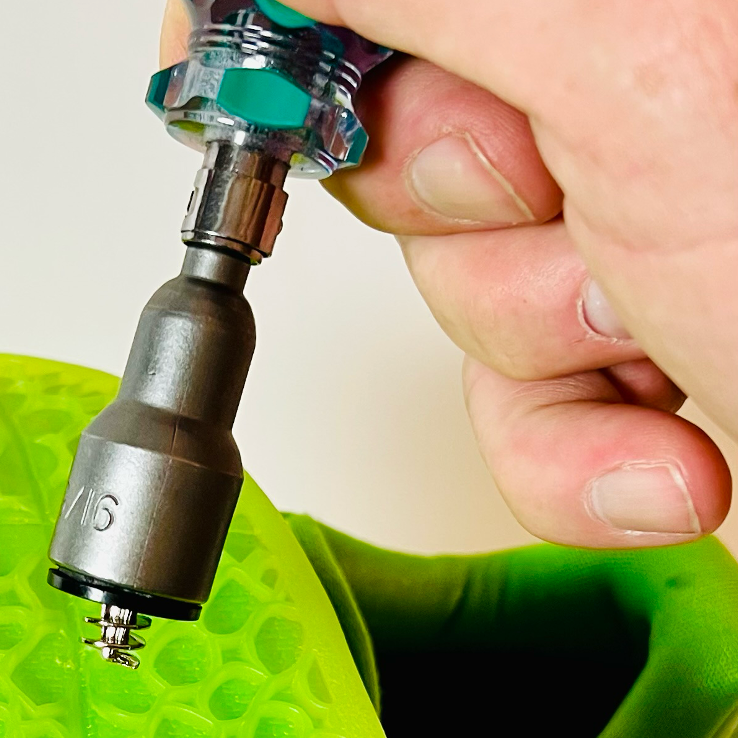
screw in spikes by hand or drillApply pressure with hand driver or drill, turn clockwise until snug against sole
Step 5
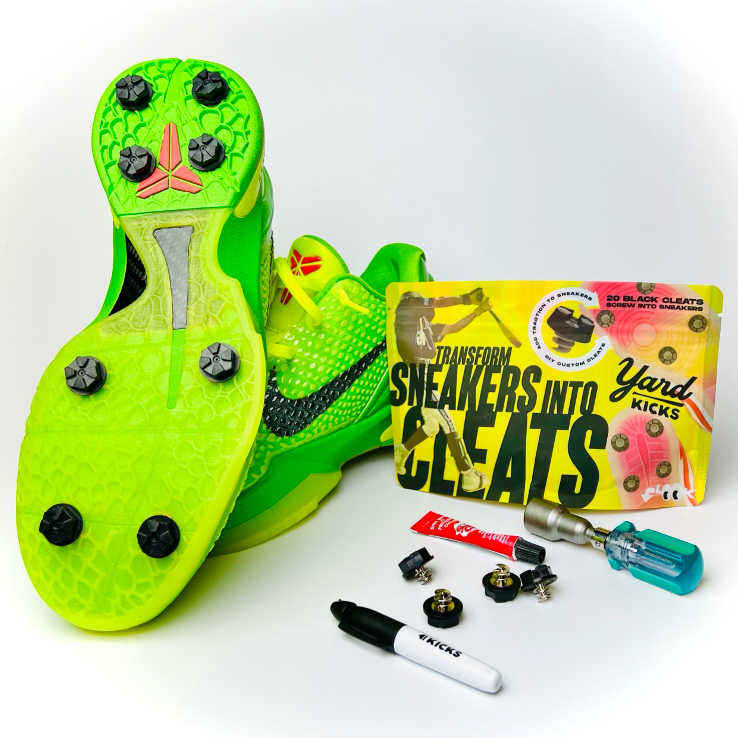
nice workLet goo dry and hit the field in style

Play in style
you just made your own cleatsImportant
Yardkicks are a DIY product designed to work for many install skill levels and WORK AS WELL AS YOUR MOUNTING JOB so take your time and understand the instructions - use your skills and your shoe goo.
Take your time, use 8 per shoe max, you have extras in the box.
Jordan 11's/Foamposites/shoes with CARBON FIBER or PLASTIC under rubber you'll need to drill a pilot hole (5/32 bit 6mm deep) before mounting. This is an ADVANCED install only recommended if you know what you're doing.
ANY AIR or gel bladders have the potential of puncturing but we have found this doesn't matter on grass and dirt.
Know what you're screwing into. You are in charge of the shoes you select and some work much better than others. If in doubt look up your shoe model/deconstruct on google and you can usually find what the guts of the shoe look like or ask us for help - info@yardkicks.com
Sole rot warning - we love seeing older shoes get a new life on the golf course but if midsole is crusty/rotted Yardkicks spikes can accelerate sole delamination.
PRO TIP: If you have access to a drill this makes it very easy, your Kit includes a 5mm hex insert drill bit.

Shoe guidance
FLAT RUBBER (NOT FOAM)Soles need to be 1/3 inch thick and have FLAT RUBBER (NOT FOAM) on the bottom. If you have a lot of traction on the sole you don't need Yardkicks.
Mount Yardkicks on a FLAT area of your shoe so that the disc part of the cleat has FULL CONTACT with your sole for support. Do not hang off raised traction.
ALL SHOES ARE DIFFERENT, the thinner the sole the more you will feel traction underfoot.
Yardkicks are designed to be permanent
Avoid repeatedly removing and installing your studs - this causes sole material to weaken and be less supportive. Softer, spongier sole materials will not hold Yardkicks.
Durability - we continue to improve durability and toughness of Yardkicks cleat material but they are still no match for concrete and other highly abrasive surfaces. To increase lifespan/longevity of your custom Yardkicks Cleats save them for the playing field.
HELP! – send us a note info@yardkicks.com we're here for you.
Satisfaction Guarantee - If you are not satisfied with our products please send us a note and we'll help/replace/refund - info@golfkicks.com.
SHOW US YOUR KICKS! – send us pics of your creations to info@yardkicks.com and we will post on Instagram (Follow us on Instagram – yardkicks.co). PHOTOS on the field are much better than kitchen counter!
Thanks again! We are just getting started as a company (a few guys in a Denver garage) and want you to be extremely happy with your Yardkicks.
Be smart & safe
PRODUCT USE AND DISCLAIMERUSING YARDKICKS® SAFELY Some surfaces can be extremely slippery for Yardkicks. Be careful out there. Yardkicks are designed to give you extra traction on the field but they do not eliminate the inherent dangers of playing sports or using tools for installation. Kicks Industries is not liable for any injury, loss or consequential damage resulting from the installation, wearing, or other use of our products.

